A water hazard, now officially termed a penalty area, is a vital element in golf that adds both strategic depth and unique challenges to the game. These areas demand more than just precise shot execution—they require intelligent decision-making and risk assessment. Understanding the types of hazards, the penalty rules, and strategies to avoid them is essential for any golfer looking to elevate their game.
With the right mindset and regular practice, golfers can not only steer clear of penalty strokes but also leverage hazards as part of a well-calculated strategy. So the next time you face a water hazard on the golf course, remember—courage must always be paired with sound judgment. Here’s a complete breakdown from GoGolf.
What Is the Definition of a Water Hazard in Golf?
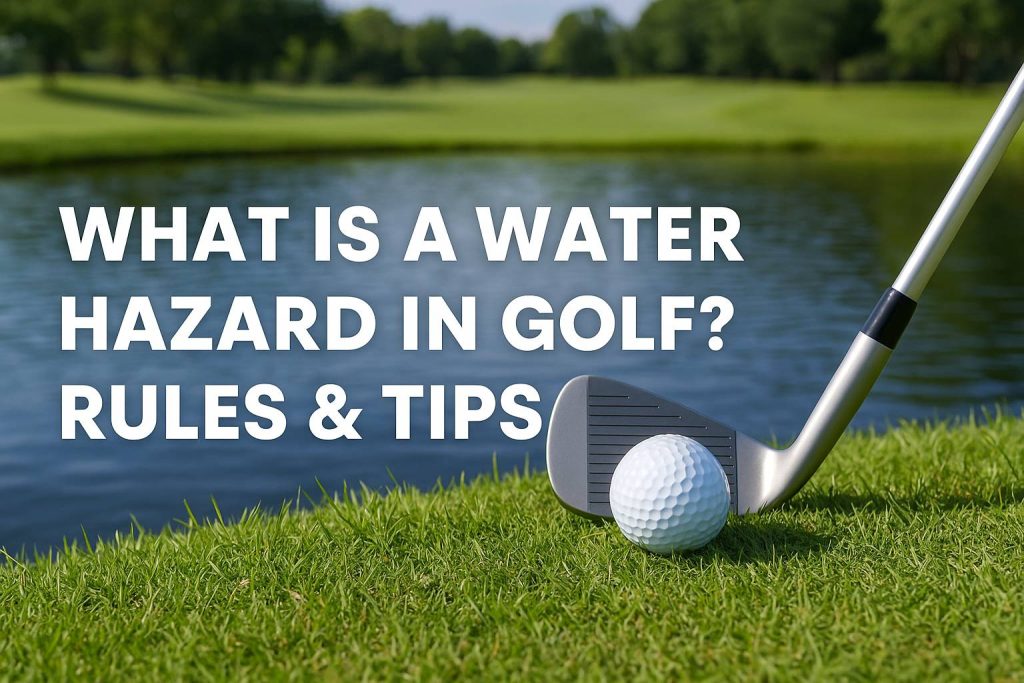
In golf, a water hazard is a traditional term referring to any water-filled area intentionally incorporated into the course design to challenge players. This may include lakes, ponds, creeks, or drainage ditches placed along fairways or near greens. While they enhance the course’s aesthetics, their primary function is to test the player’s technique, strategy, and nerve.
However, since the rules of golf were modernized by The R&A and USGA in 2019, the term water hazard has officially been replaced by penalty area. Despite this, most golfers still casually refer to these zones as water hazards. These areas challenge not only a player’s technical shot-making but also their tactical decision—whether to go for it or play safe.
[ Related: Essential Golf Terms Every Golfer Should Know ]
The Purpose of Water Hazards in Golf
Water hazards serve a much larger purpose than just visual appeal. They are a core part of a golf course’s difficulty level and strategic layout. One of their key roles is acting as natural obstacles that golfers must overcome to reach the green. But more than that, they function as psychological barriers that influence club selection, shot direction, and swing force.
Facing a water hazard demands caution. If your ball lands in one, you’ll incur a penalty stroke and must follow specific drop options depending on the type of hazard. Therefore, choosing to carry over a hazard can become a defining moment during a round—one that separates bold, calculated play from costly mistakes.
Moreover, water hazards contribute to the course’s identity. World-famous golf holes such as TPC Sawgrass (Hole 17) or Augusta National (Hole 12) are iconic largely because of their demanding water features. These hazards force players to think several shots ahead, balancing risk with reward at every turn.
Make golf booking easier with the GoGolf app


Types of Water Hazards in Golf
Under the revised rules, water hazards are now categorized as penalty areas and split into two main types based on their location and alignment with the hole:
1. Yellow Penalty Area (formerly a “water hazard”; marked with yellow stakes)
This type of penalty area is found directly in the line of play, such as a pond stretching between the tee and the green. Players must carry the hazard with a clean, well-judged shot.
If the ball is in a yellow penalty area, the golfer has two relief options, each with a one-stroke penalty:
- Drop on a straight line from the hole through the point where the ball last crossed the edge of the penalty area, going as far back as desired.
- Replay the shot from the original location (stroke and distance rule).
2. Red Penalty Area (formerly a “lateral water hazard”; marked with red stakes)
This type runs parallel to the hole, typically along the side of the fairway or near the green. It offers more drop options, including:
- Drop within two club-lengths of the point where the ball last crossed the edge of the penalty area, but not closer to the hole than that point.
- Use either of the two yellow penalty area options instead.
Understanding this distinction is key because the color-coded stakes directly determine what drop options and penalties apply.
Water Hazard Markings and What They Mean
To help golfers identify penalty areas, course managers place colored stakes or lines around water features. These markings are crucial because they clarify the type of hazard and the options available for relief:
- Red Stakes: Indicate a red penalty area. Lateral relief within two club-lengths is also allowed, so players have more options.
- Yellow Stakes: Indicate a yellow penalty area. Relief is limited to stroke and distance or back-on-the-line.
Being familiar with these markers can significantly improve decision-making during a round and avoid unnecessary penalty strokes.
What Happens If the Ball Lands in a Water Hazard?
Hitting your ball into a water hazard doesn’t end your play on that hole, but it does cost you one penalty stroke. Depending on the situation, players have multiple relief options:
-
- (Red penalty areas only) Drop within two club-lengths of the point where the ball last crossed the edge, not nearer the hole, then continue play.
- Drop behind the penalty area, keeping the point where the ball last crossed the edge between the hole and the drop spot, as far back as desired.
- Return to the previous shot location and hit again (stroke and distance).
The best choice depends on the hazard type, the ball’s entry point, and the player’s risk tolerance. Each option should be weighed strategically.
Tips to Avoid Water Hazards Effectively
Avoiding water hazards requires smart planning, risk awareness, and technical precision. Here are some practical tips:
- Choose the right club – Opt for a more controlled club like a hybrid or iron when approaching a hazard.
- Prioritize accuracy over distance – Overhitting can lead to disastrous outcomes, especially near water.
- Read the wind and terrain – Elements like wind speed and fairway slope can dramatically impact your shot.
- Play it safe when needed – Sometimes, laying up short of a hazard is the smarter play than risking a water ball.
Even seasoned professionals often choose the safer route to protect their scorecards and stay in contention. Taking unnecessary risks for glory can often backfire.
Final Thoughts
In golf, water hazards—or penalty areas—test more than swing technique. They probe a player’s decision-making, course management, and mental resilience. Knowing the rules and understanding how to respond to these challenges can drastically improve your confidence and performance.
Whether you’re an amateur learning the ropes or a seasoned golfer chasing par, treating each hazard as a strategic opportunity—rather than a feared obstacle—can help you turn the tide in your favor.
So next time you step up to a tee with water looming ahead, remember: it’s not just about power—it’s about playing smart.